
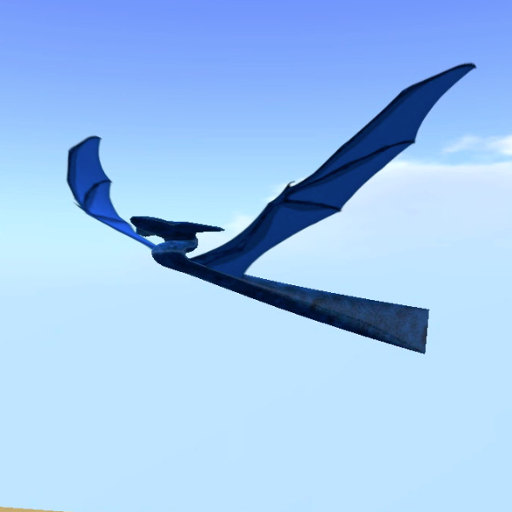
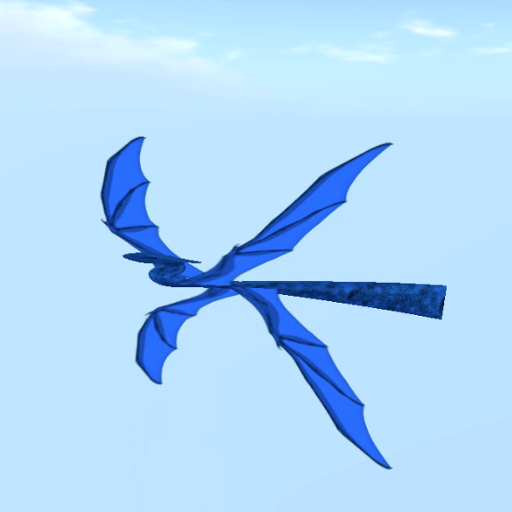

Come to one of my Ocean Engineering locations to see flying critters buzzing around. To find links to my demo areas, check out http://magic.kayaker.net.
Before you install a flying critter, you should be on your own property. It will work on other property where you have permission to rez objects and run scripts. However, it will immediately put itself in parcel mode and will stay inside the parcel it was rezzed in. Drag a copy of the flying out of inventory onto the ground or water. It will immediately start to fly. If you want to change the default behavior of your critter, you can click on it at any time to stop it and bring up the dialog.
| PARCEL/REGION SAFE SIMS/GRID | (Only the larger critters.) One button in the dialog cycles between FOUR modes. The current mode is displayed on the button, click it to change to the next one in sequence. Here is what each mode means: |
|---|---|
| PARCEL | In this mode the critter will stay inside the boundaries of the parcel that it is currently over. |
| REGION | The critter flies anywhere in the current region, even a var region |
| SAFE SIMs | The critter flies across borders into a list of regions known to be safe. See the section below about setting this up. |
| GRID | Only while you are riding, the critter is allowed to cross any border. It is up to you, the pilot to know where it is safe to cross. Smaller birds like the Seagull cannot be ridden, so this mode is similar to SAFE SIMs. |
| . | . |
| DYN/FREE CAM | (only the larger critters.) One buttong switches between two modes that determine how you see yourself when riding the flying critter. Smaller birds like the Seagull cannot be ridden so they don't have this option. |
| DYN CAM | The camera tracks behind you as the critter flies |
| FREE CAM | You can control your point of vie (within viewer limitations) to watch yourself fly from other angles. Usefull for videoing yourself. |
| . | . |
| CEILING-+10 | Pressing ceiling+10 will allow the critter to fly 10 meters higher than before. Pressing ceiling-10 lowers the limit. |
| FLOOR-+10 | Pressing floor-10 will allow the critter to fly 10 meters lower than before. Floor+10 will raise the floor. (You cannot se the floor higher than the ceiling). The menu will pop back up so you can change it again or change other options. |
| HELP | Pressing this button brings up the "go to link" dialog that brings you back to this WEB page to help you use your critter. |
| DONE | Every time you change anything in the dialog, it pops back up to show you the new mode. When all the modes are set the way you want, press DONE to dismiss the menu the last time. |
| MORE | All the buttons did not fit on one dialog, click MORE to switch to a page with more options, shown below |
| MAIN | To get back to the main page of buttons, described above, press the MORE button. |
| AV IGNORE/AVOID/FOLLOW | One button cycles through 3 different avatar behaviors. Pressing on the button puts the critter into the next mode, then the dialog pops back up to show you what mode you are in now. If you want to get from IGNORE mode to CHASE mode, you will have to press the button 2 times. Here is what each avatar mode means: |
| AV IGNORE | The critter will ignore avatars as if they were not there. |
| AV AVOID | The critter will turn away from avatars |
| AV FOLLOW | The critter will turn towards nearby avatars. It will try to circle the avatar until she moves away or it is distracted by someone else. |
| . | . |
| OB IGNORE/OB AVOID | One button switches between two object modes. In IGNORE mode the critter ignores all objects in the air and fly through them. In AVOID mode, the critter *TRIES* to detect other birds and objects and avoid them. Due to the nature of virtual objects, this does not work perfectly and the critter will still pass through some objects. |
| FINE/MEDIUM/COARSE | (Only some smaller critters.) One button chooses how fast you can change the colors. Fine changes the color by one step out of 256, so it can take a long time to go through 17 million colors! MEDIUM changes by 8 steps at a click and COARSE changes colors by 64 steps at a time. |
| +/-RED/GREEN/BLUE | (Only some smaller critters.) These buttons bump (+ up, - down) the current color components (RED, GREEN or BLUE) by 1, 8 or 64, based on the COARSE/MEDIUM/FINE setting. Each time you click one of these buttons, the crittere changes color instantly and the dialog pops back up to change again. Press DONE when you like the color you have. |
| SMOKE ON/OFF | (only the larger critters.) The critter will leave smoke trails if you turn this mode on. Originally put in for debugging the chaotic behavior, many people found it interesting to see where the critter has recently flown. Click the button until is says SMOKE ON then click DONE. The critter has to be moving for the smoke to appear. |
| CURVED_ON/OFF | The critter normally flies in a sinusoidal flying path, this is called CURVED ON. Sometimes it is convenient to force the critter to travel in straight lines between turning at the boundaries. CURVED ON allows you to do this. For example, when riding on the critter it is easier to control when it does not turn back and forth on you. |
| TRANSP_ON/OFF | (Only the larger critters.) One button switches the transponder on and off. When on the critter reports its position once a minute to the locator WEB page. this works best in InWorldz and DiscoveryGrid but will be tuned for more grids soon. |
| UNLOCKED/LOCKED | (Only the larger critters.) Normally only the owner of the critter can stop it, bring up the menu and change these parameters. (This is LOCKED mode). Smaller birds like the Seagull do not have this button. When UNLOCKED, anyone can bring up the menu and control it. This will allow your friends to play with your the parameters of the critter. For example, most people prefer to turn CURVED mode off when riding. Note, only the owner of the critter can lock or unlock it. |
| Keyboard Key | Function |
|---|---|
| LEFT_ARRROW | turns the critter to the left |
| RIGHT_ARROW | turns the critter to the right |
| FWD_ARROR | causes the critter to pitch down |
| BACK_ARROW | causes the critter to pitch up |
| (This sounds backwards, but it is intended to feel like pushing the stick forward/backward on an airplane joystick) | |
| MOUSE_WHEEL | to zoom your POV in close or far from your avatar |
| ALT_LEFT_ARROW ALT_RIGHT_ARROW | Rotates your POV in FREE CAM mode |
In SAFE SIMS mode, the critter will autonomously cross into a SIM that is on the list. You can replace this list using the Safe SIMs Remote that came with your critter. Wear the remote on your right hand when you want to change the safe SIMs list. Inside the remote is a NC named SafeSIMs. You edit this NC to contain a list of safe places to go, then click on the remote to send them to the critter.
The SafeSIMs NC has a specific format with the following requirements:
If the first line in the note-card says 'reset', (highly recommended) the board will forget the previous list and start a new one. You will probably always want to do this.
The rest of the lines contain the co-ordintes of SIMs you want added to the safe SIMs list. Each sim is listed on a separate line in the NC in 'vector format' with the value you would get from calling llGetRegionCorner() and dividing the result by 256. For example the InWorldz Desert Island is at <1000,1000,0>.
How do you find out what the co-ordinates are for each SIM you want to list? The remote can tell you! Just wear the remote on your hand and fly into each region. It will IM you the numbers in local chat. You can cut the numbers out of there and paste them into the SafeSIMs NC. The NC comes with a sample list of SIMs. You should use that as an example but delete those and replace them with your own. Once you have edited your list, make sure you save the note-card, hold the remote near the critter, and left-click the remote. The center of the critter must be within 10 meters of the remote for this to work, and you will know it is working because the critter will report the co-ordinates to chat as it receives them. You can save that critter back into inventory with this list and it will remember it the next time it is rezzed. Caution: if you rez several critters, and they are within 10 meters of the remote when you click it, they will all get the same list. Below is an example that resets (removes all the default safe SIMs) and adds just 6 SIMs back in.reset <976, 999, 0> <976, 1000, 0> <977, 999, 0> <977, 998, 0> <976, 998, 0> <976, 997, 0>